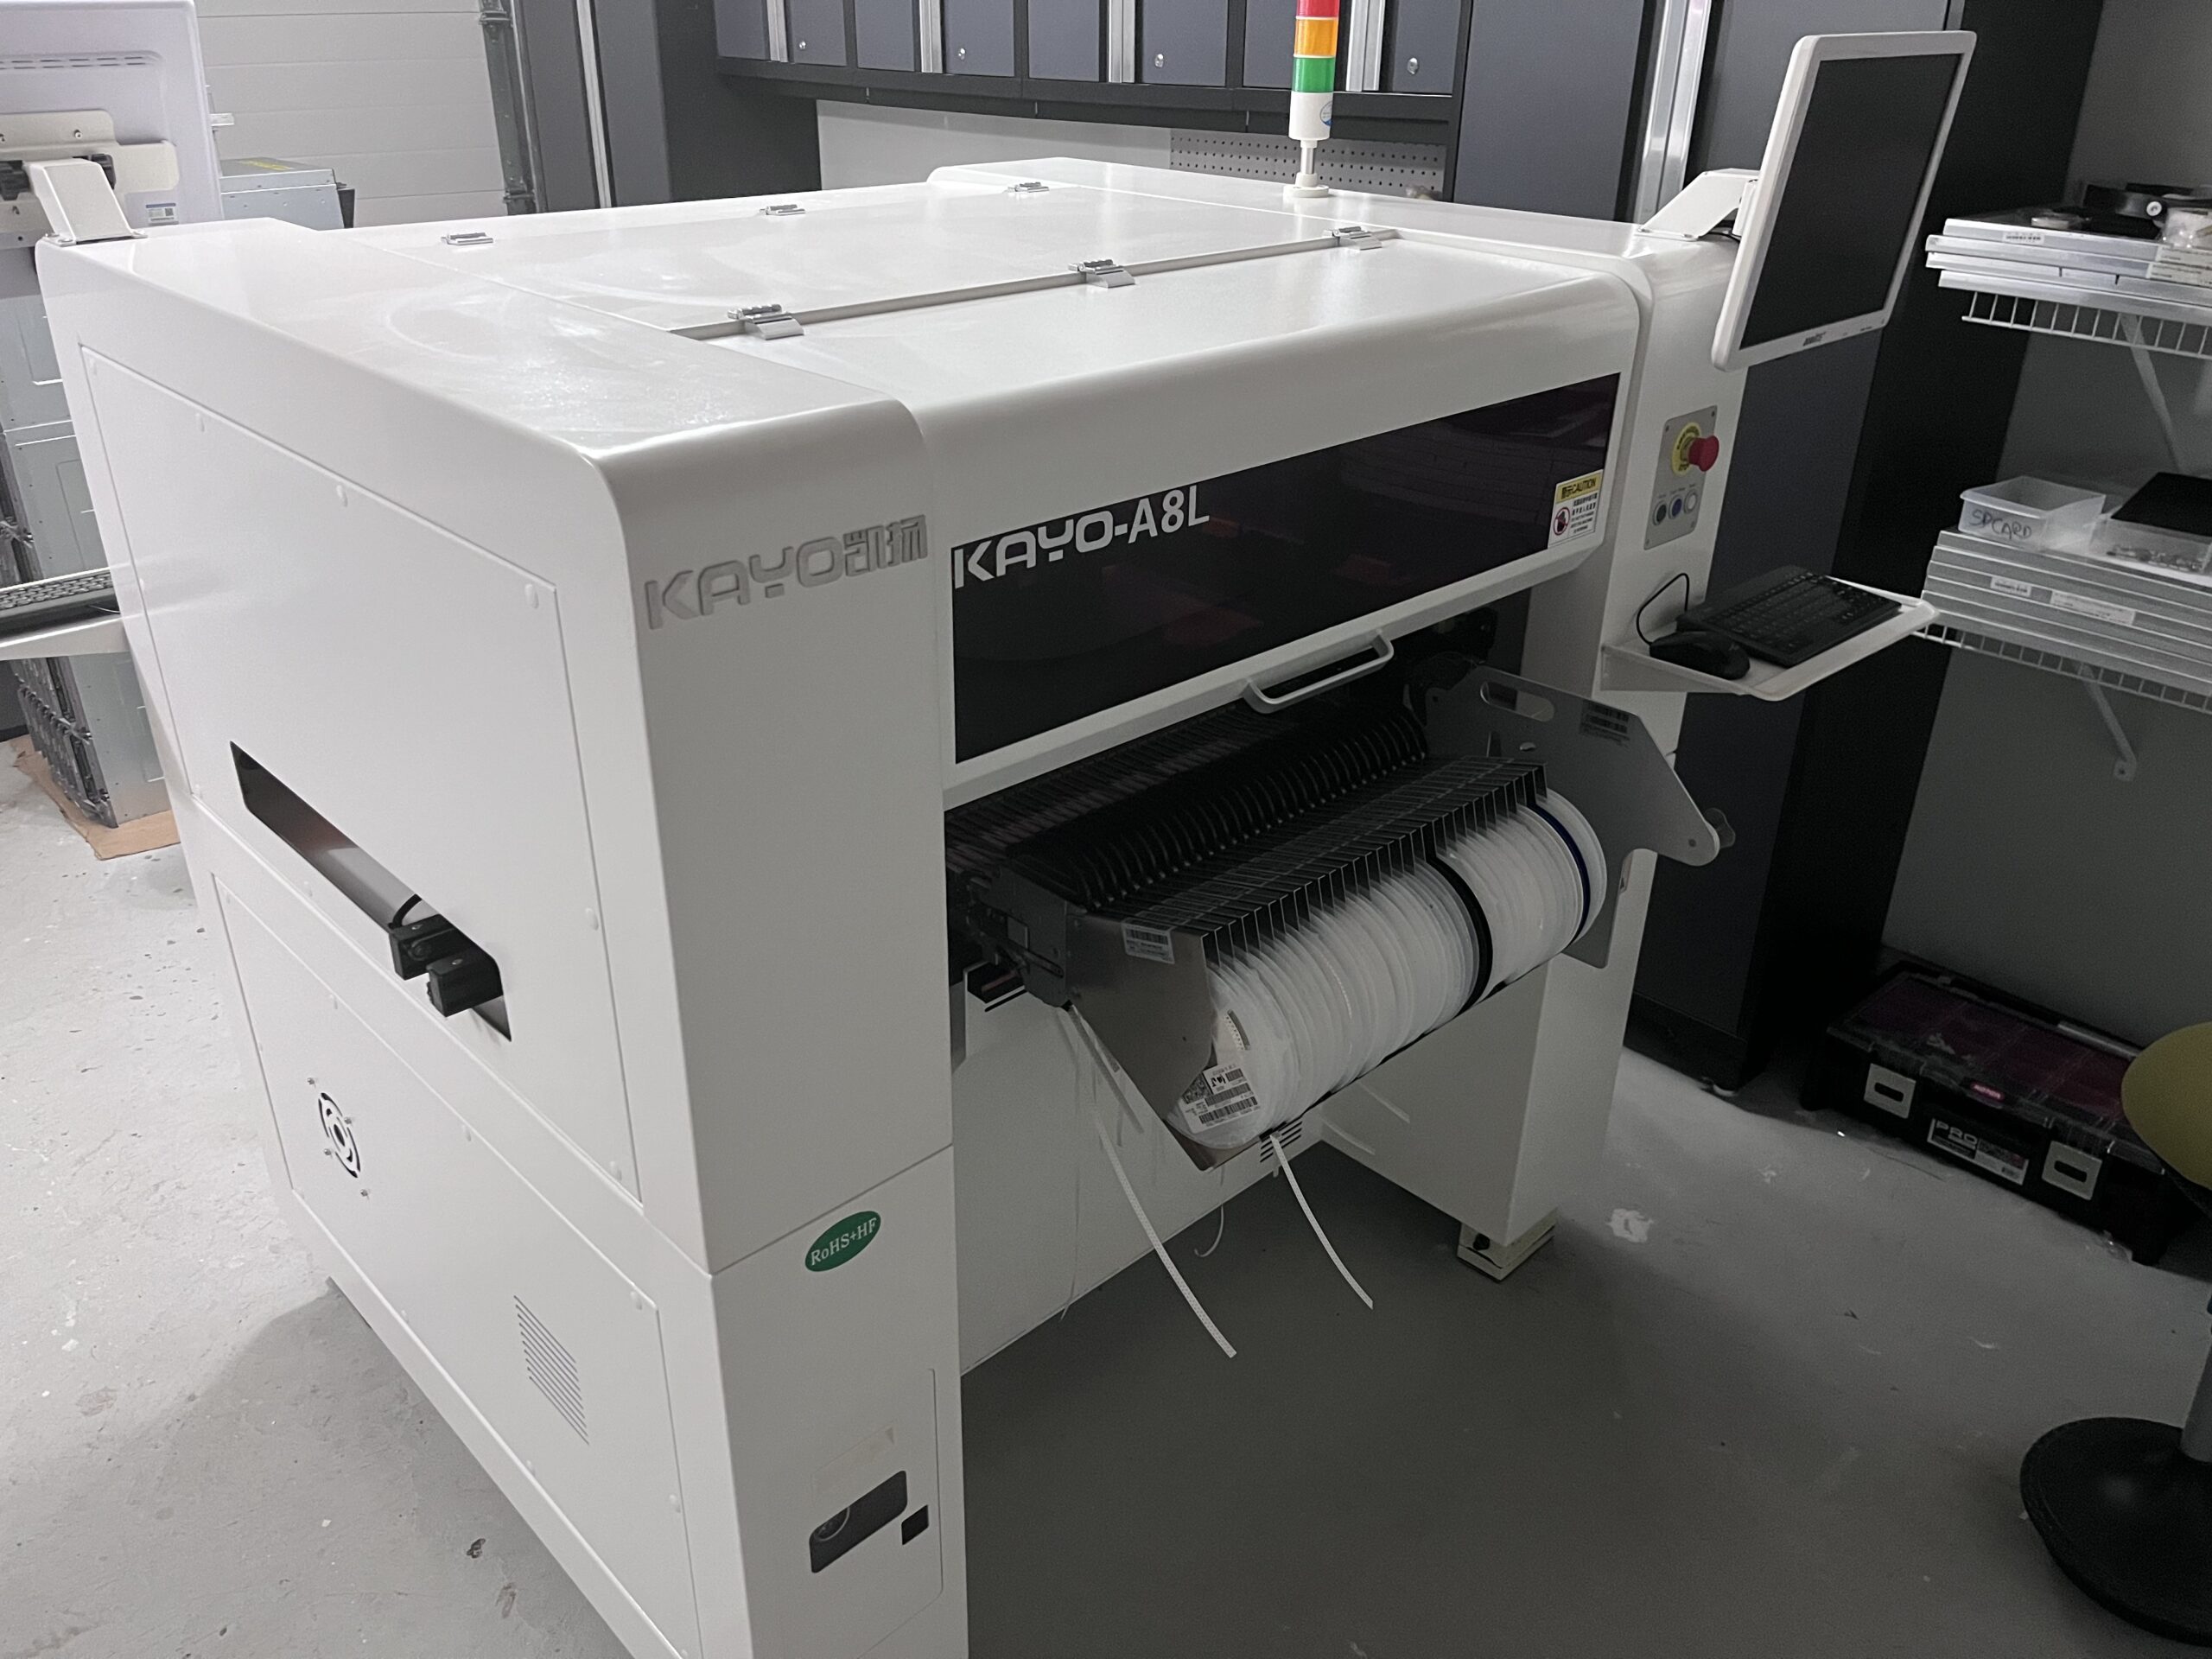
After several hours spent installing the feeders (8mm, 12mm, 16mm, 24mm), I was geared up for the software setup. Kayo offers informative video tutorials, though improvements could be made in resolution and English translation. Nonetheless, they were adequate for me to navigate the software. My prior experience with the QuHE pick and place machine proved beneficial. Generally speaking, Kayo’s software is user-friendly and intuitive. Granted, there’s room for enhancement in terms of features and stability, but one must remember this isn’t a high-end 250k Juki machine. It remains a budget option from China. Bearing that in mind, I believe it offers good value for its price. Naturally, time will be the ultimate judge. For a more vivid recount of my experience, here’s a video of my first run with the Minimig v1.97ITX on the bottom side of the PCB.

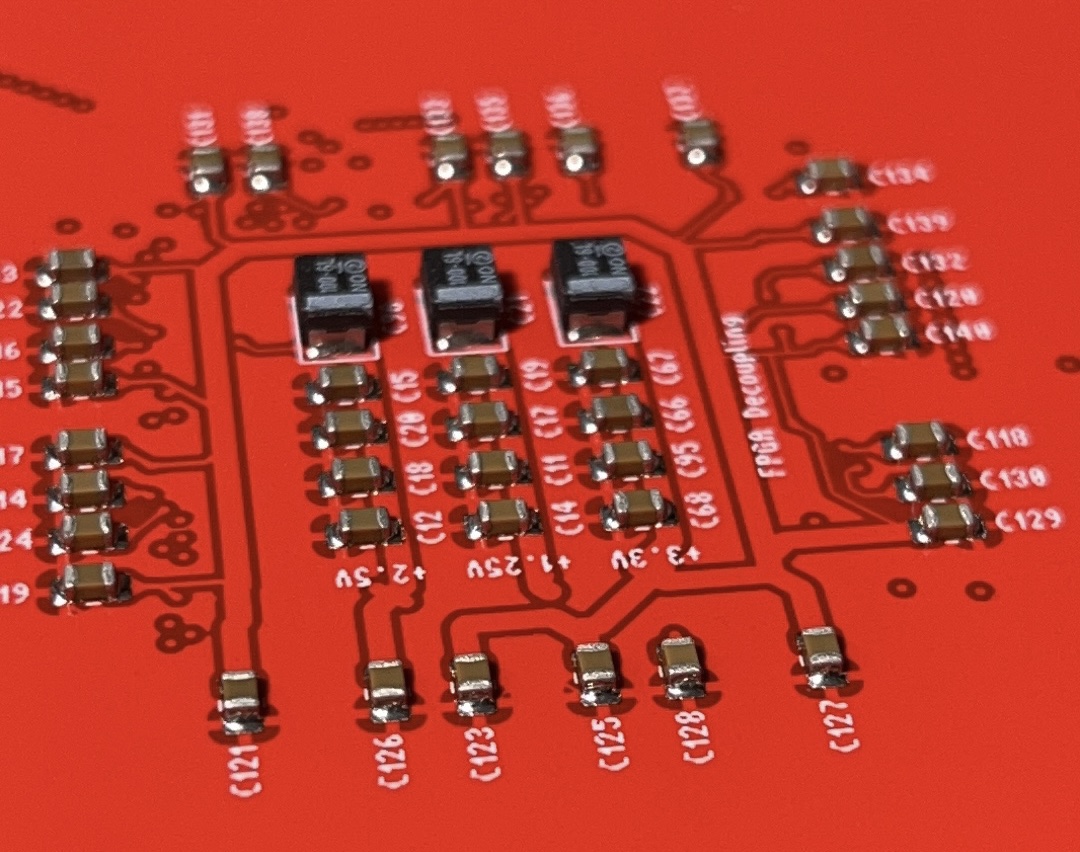
After assembling the bottom side of the board, I moved on to the re-flow process. The result was outstanding, as evident in the accompanying picture. However, I later realized there was ample room for improvement, especially concerning the placement height.
Having gained enough confidence, I progressed to the top side assembly. The placement of larger ICs, such as the Spartan-3, and atypical small components like the microswitch used on Minimig for FastSPI, presented challenges. During testing, I utilized double-sided scotch tape. Regrettably, I don’t yet have all the necessary components on reels, so I worked with the inventory at hand.

