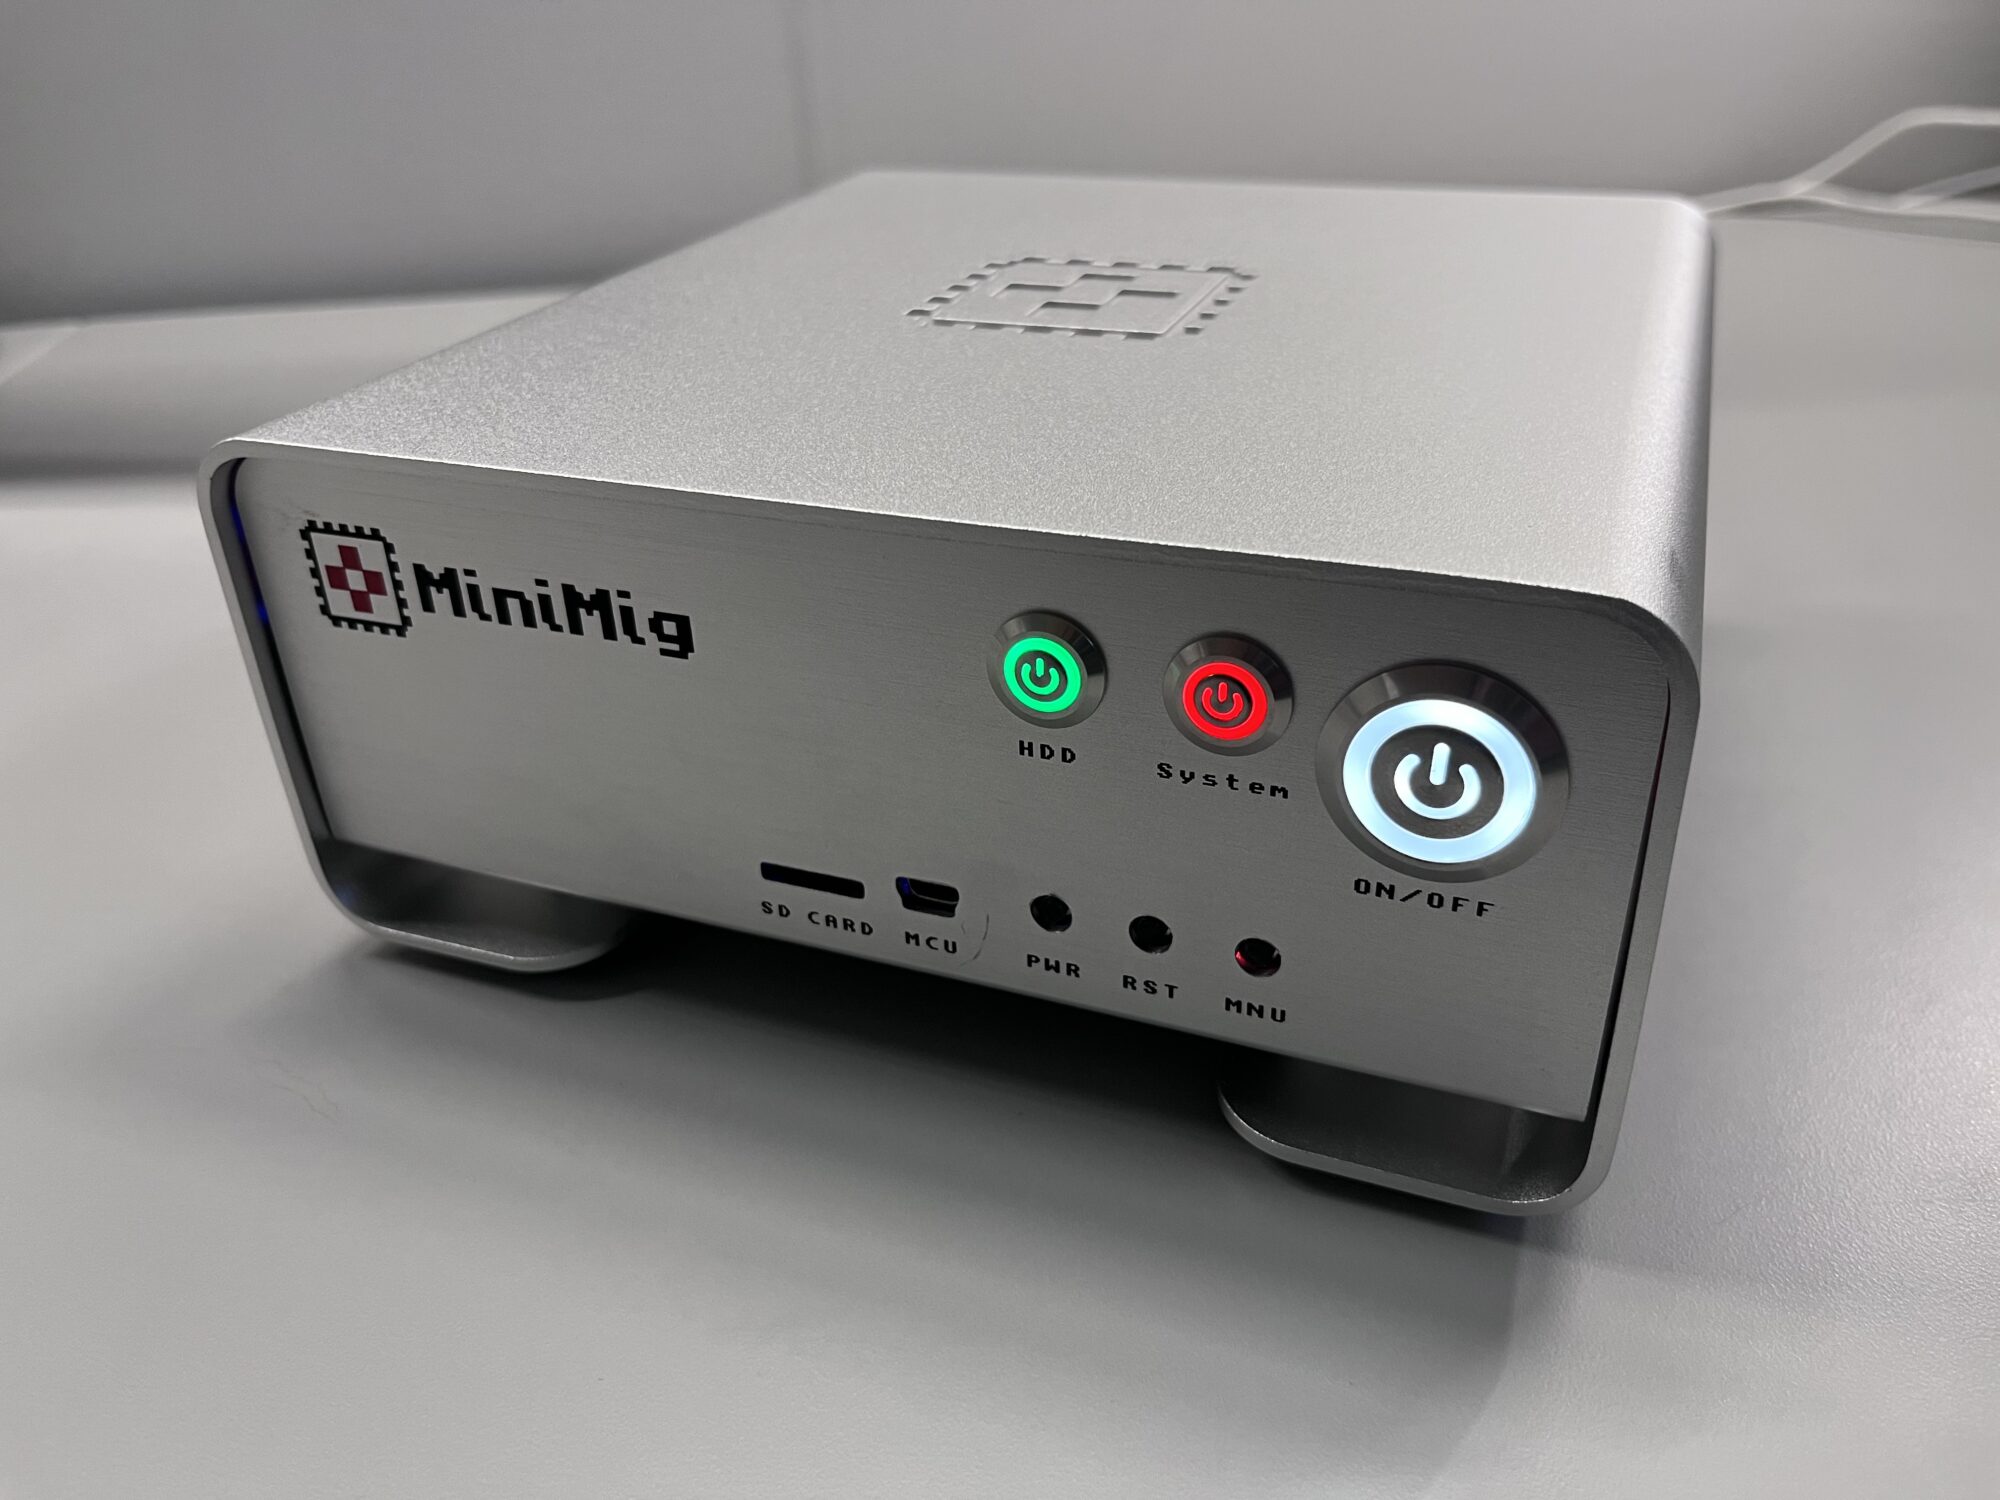
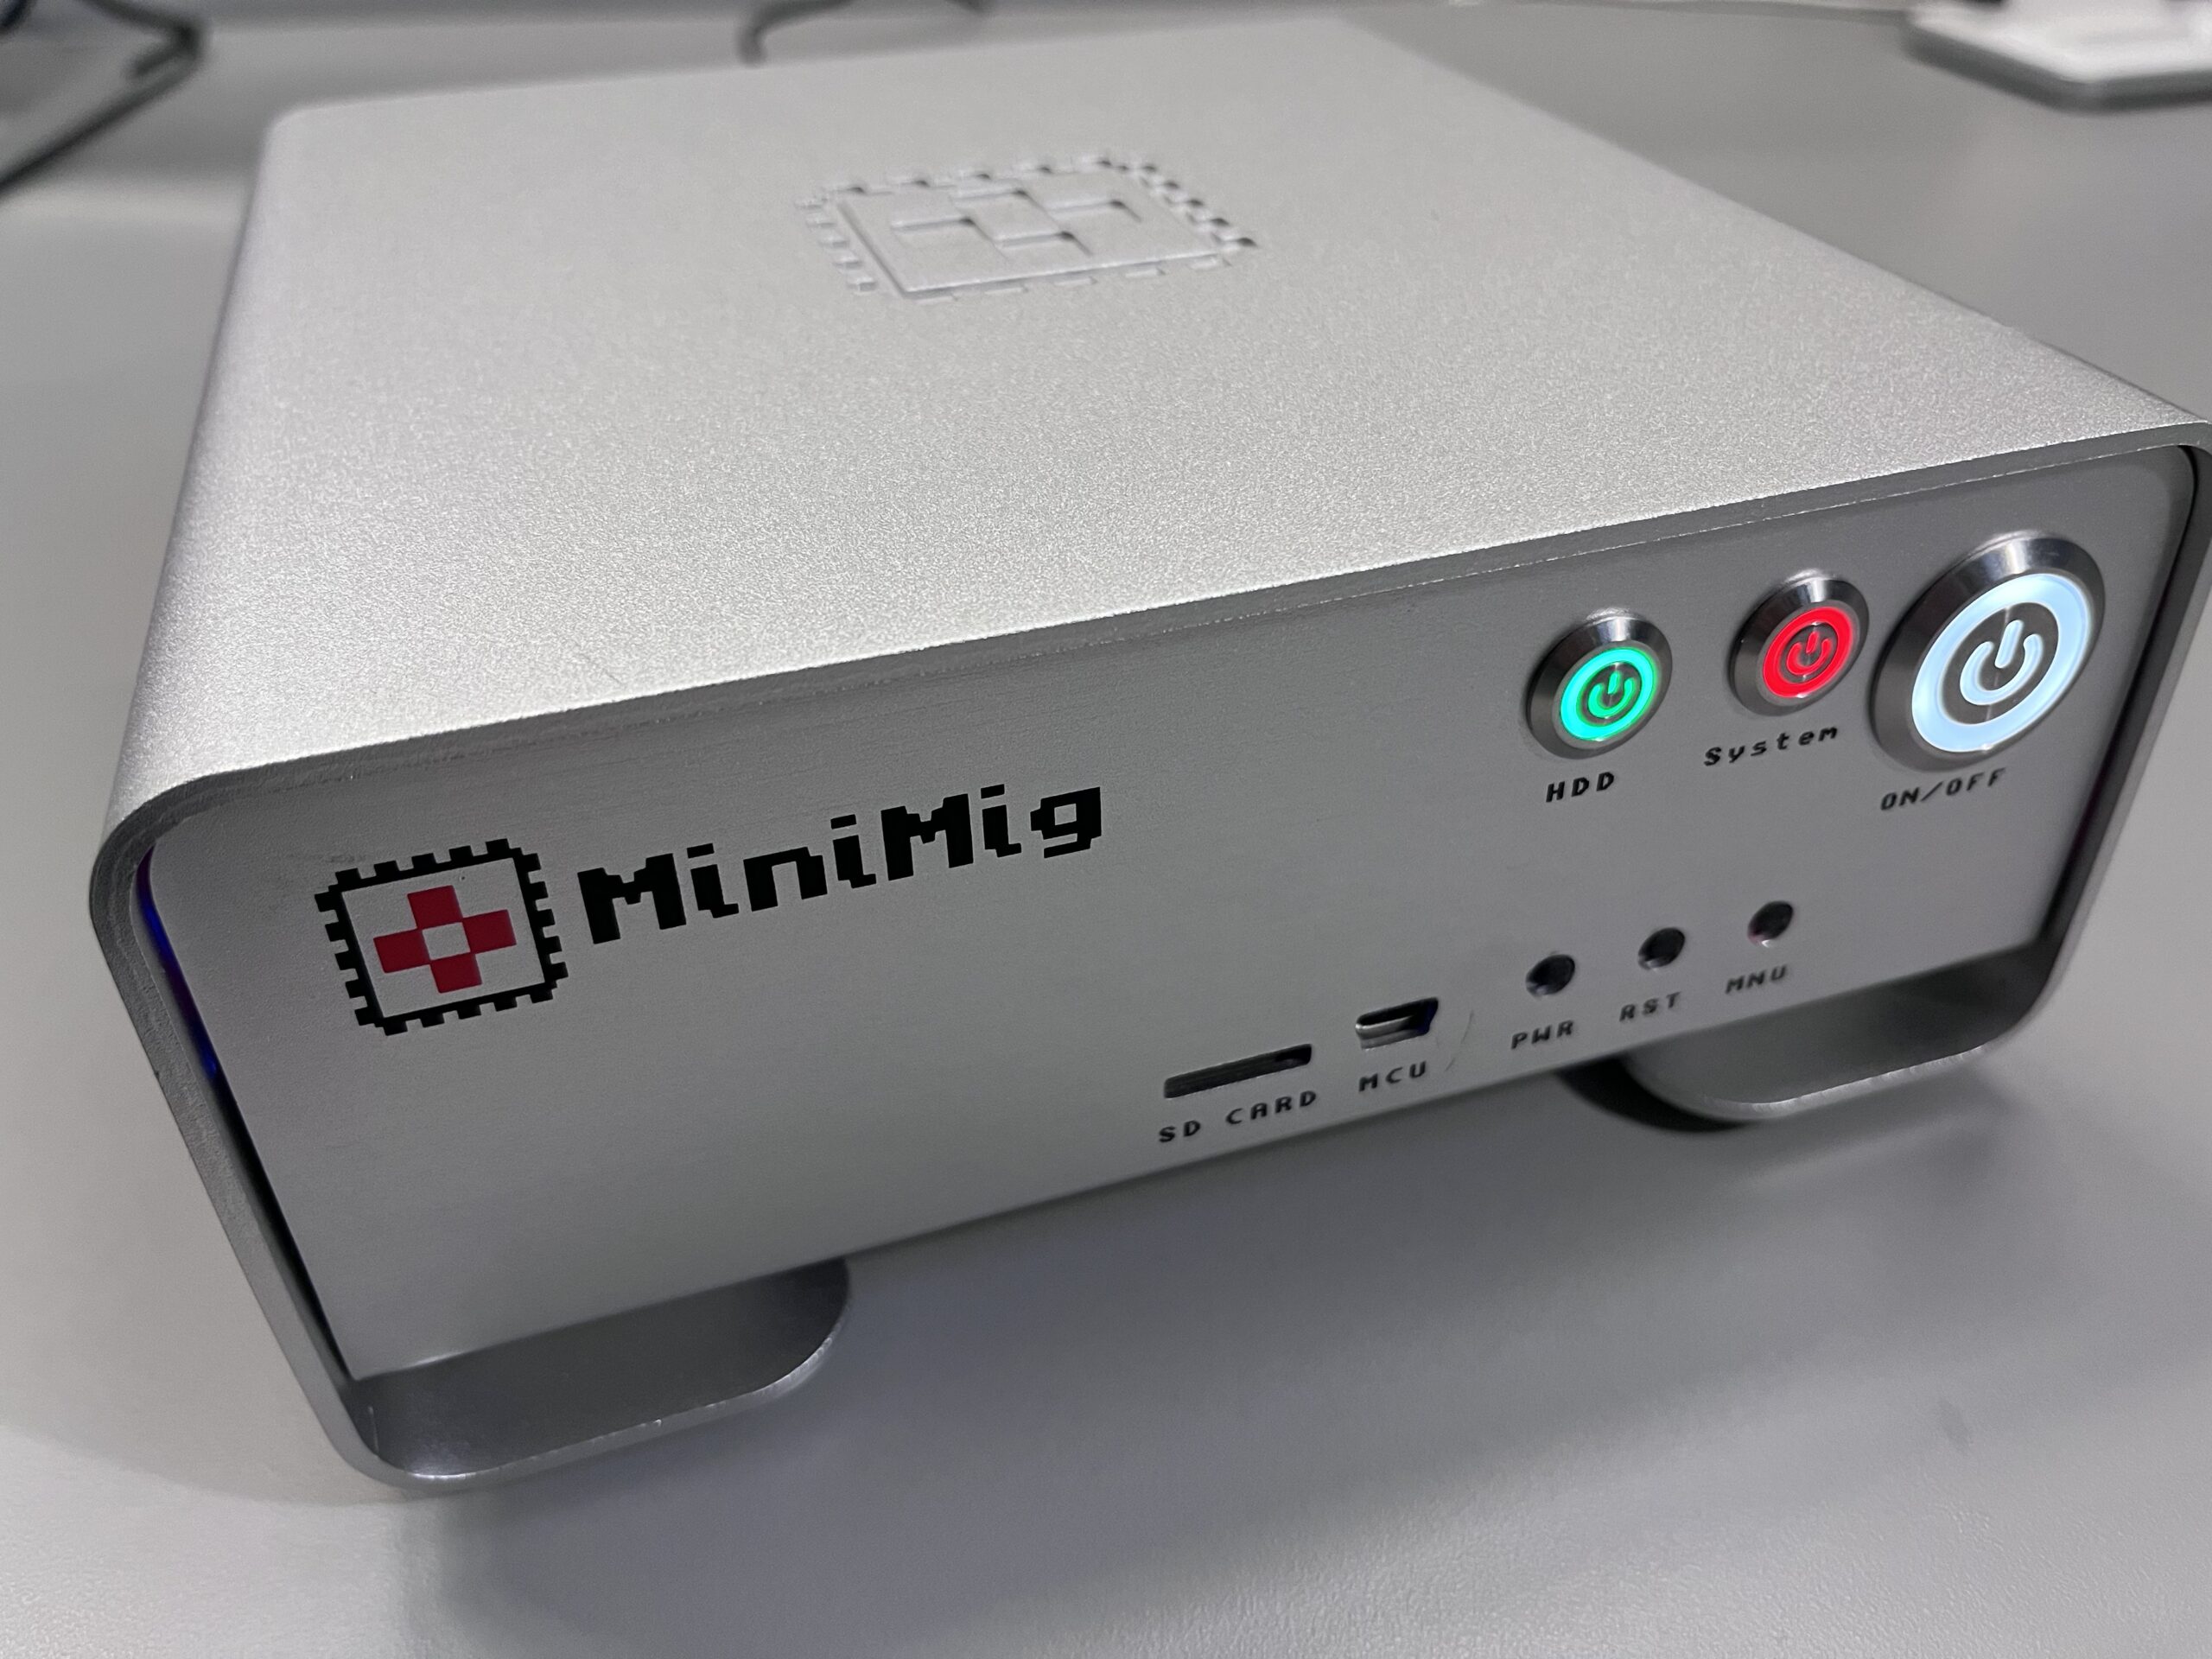
Yesterday evening, I received the buttons from the factory, allowing me to assemble the first complete case. The overall appearance of the case is stunning, with the LED lights on the buttons shining brightly and beautifully. The tactile feedback when pressing the buttons is also excellent. I was able to resolve a slight misalignment issue on the board by printing small standoffs, resulting in everything aligning just as I had envisioned initially.
I should note a couple of things. The case fits the board perfectly, but I had to trim the front tactile PCB buttons slightly to insert the PCB. Fortunately, these buttons are made of plastic and easy to cut. Additionally, I had to remove the HDD and SYSTEM LEDs from the PCB and replace them with 0-ohm resistors since the header for the button LEDs is connected serially with the board’s LEDs. Without these adjustments, the front LEDs wouldn’t have enough power to shine. Fortunately, making these tweaks only took a few minutes.
After completing all these modifications, holding this aluminum case in my hands feels fantastic. In my opinion, the final Classic Minimig is now truly complete.

By the end of the day, I plan to capture some high-quality photos and list the case for sale on the Minimig.ca website. The pricing will be as follows: $40 USD for those who have already purchased the Minimig board, and $80 USD for standalone purchases.

